Photographing the Glow Worms
A Couple of weekend ago, I took part in a Photography Workshop hosted by Coni Flores from The Wanderer Photography.
Glow worms has been something I’ve wanted to photograph for such a long time, so when I found out about this workshop I decided to give it a go.
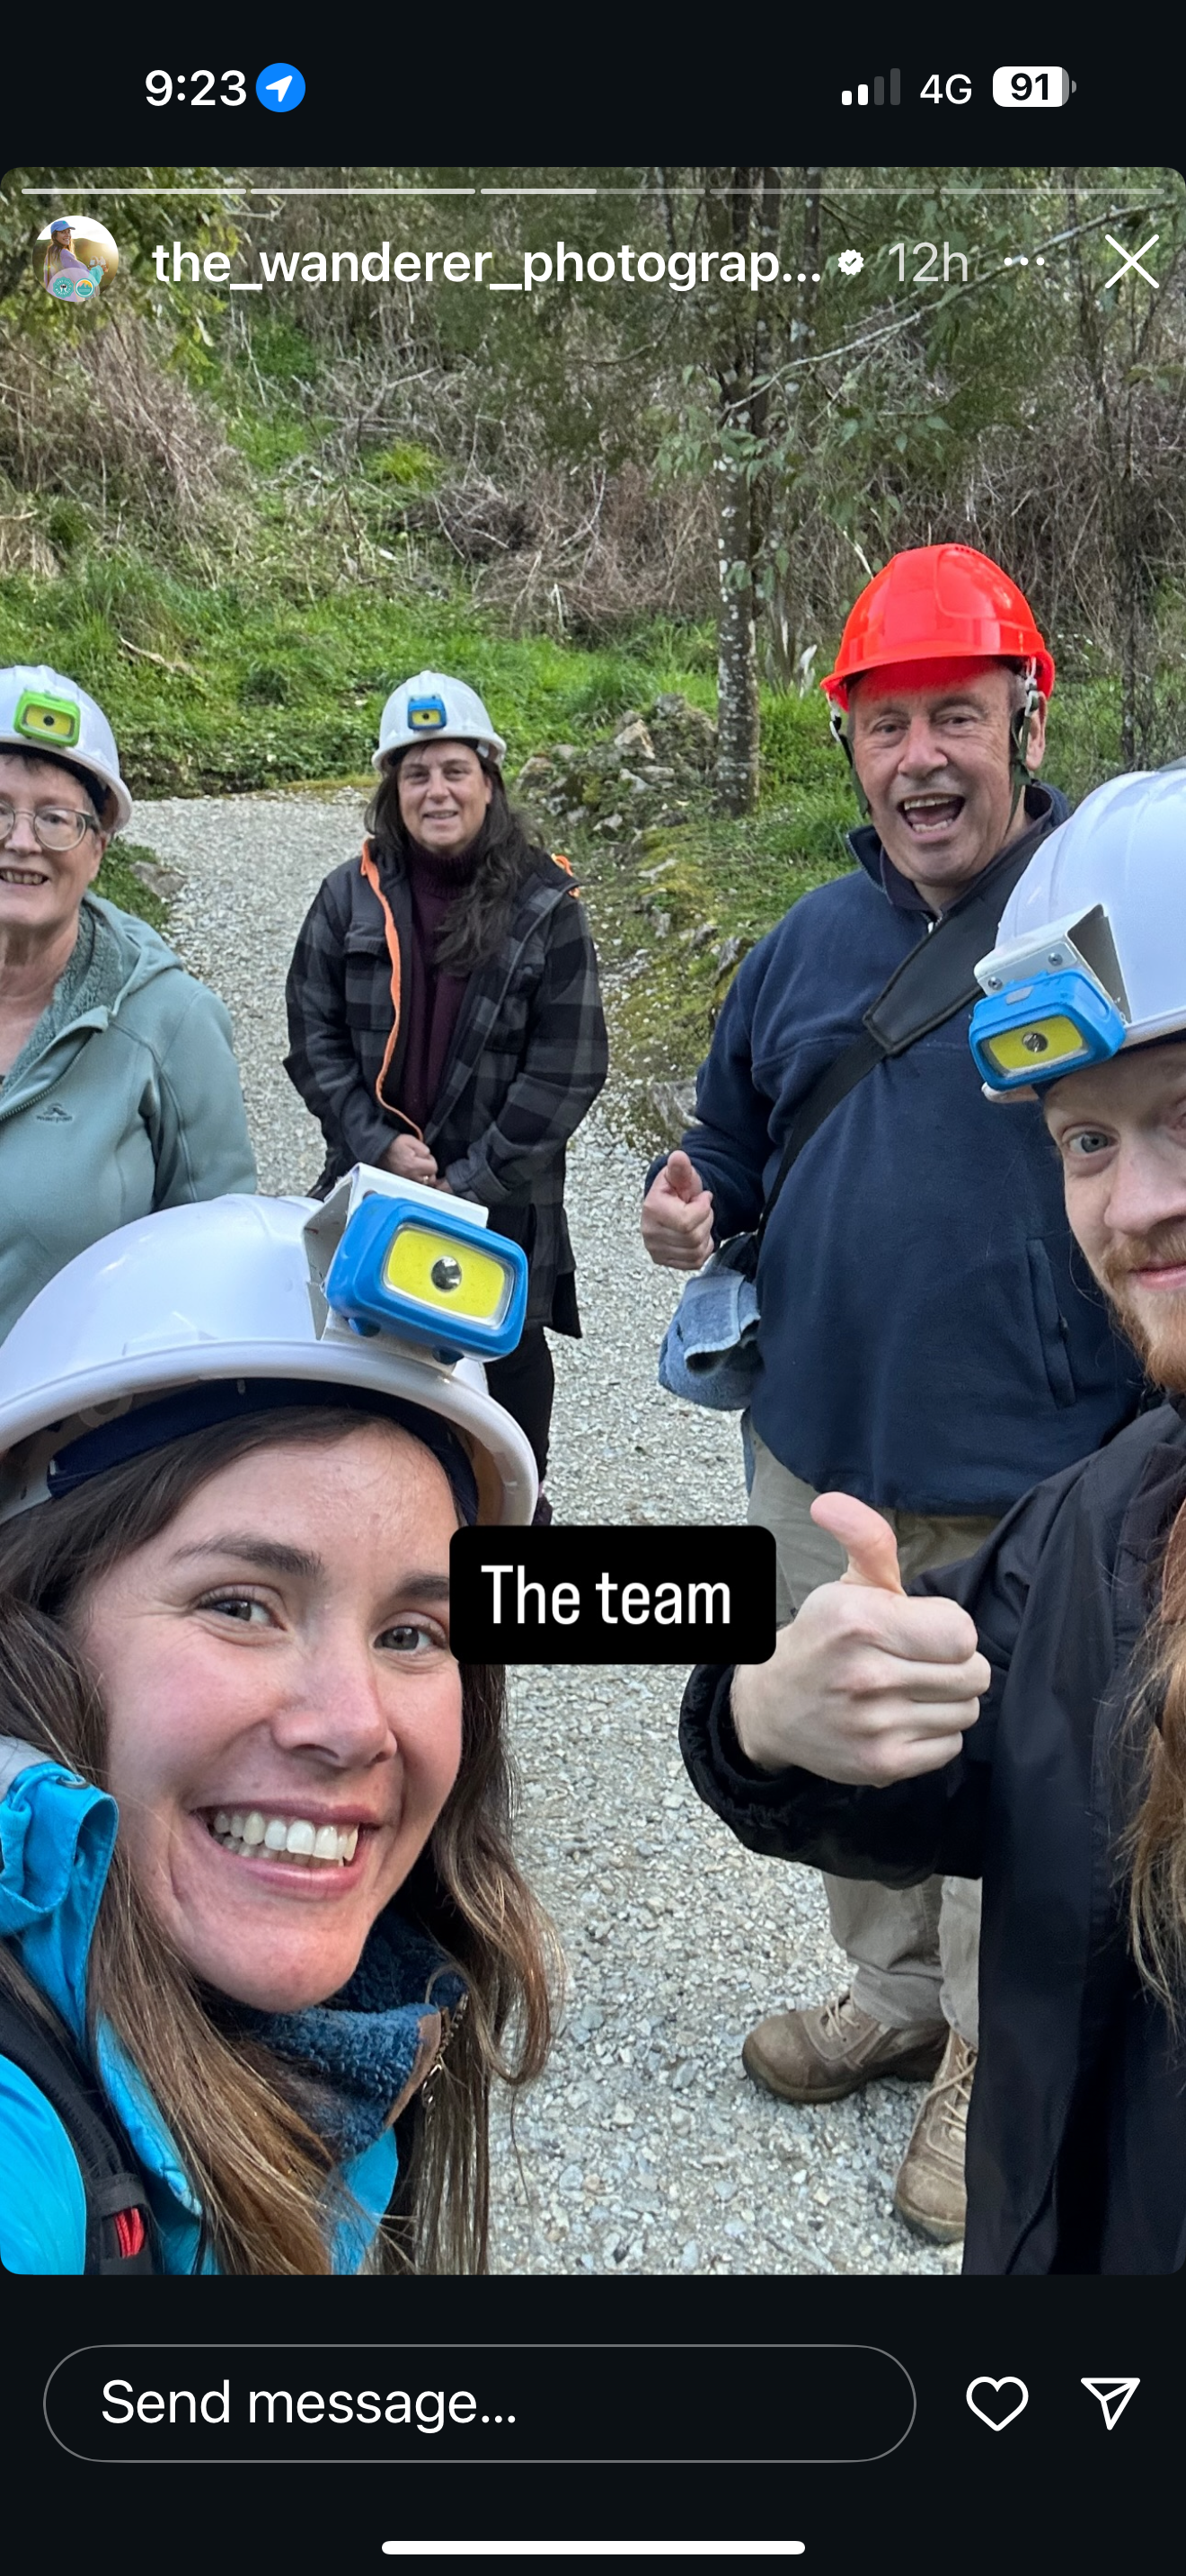
Meeting at the Spellbound GlowWorm and Cave tours on Boddies Road Te Kuiti. There a group of 3 of us got our gear together and headed out through the back roads of the King Country towards the Caves. Set on Private land, the drive alone was so picturesque.

The walk from the Car park was literally 5 minutes into the caves. We did stop to admire the Eels smimming in the river. They really are a mixure of wierd and cute at the same time.
After we put on our hard hats, we ventured into the cave. If i tell you, we weren’t even in the darkest part of the cave and already we could see the glow. Such a magical sight.
Photographing the glow worms themselves was not an easy task. I had my Nikon D750 paired with my Nikkor 16-35 F4. I later changed my lense to a Tamron 14-35 F2.8. This was because I did need a lot more light into my camera. I used my Miops trigger to trigger my Camera just so that I didnt get any camera Shake, but through my first few photos I discovered that most of my photos had this red glare from the side. I just could not figure out where this red light was coming from. We discovered that the red light was actually coming from my trigger. Luckily Coni had some tape with her. Even my buttons on the trigger was showing some red light. Once we taped up the trigger it was all systems go.
Working in the dark was another obstacle. You could not see a thing besides lots of blue glowing worms and hear the flow of water rushing through the cave. You could not put any lights on becasue that is just a big no no in night photography, espcially if you are shooting with other photographers around you. Would not be fair to destroy their photos. Knowing you camera and were all your settings are is a massive must.
What I love about my Miops trigger is that you can set it up for different functions. My favourite is doing timelapses with it, but in this case I could set how long I wanted to have my exposure for.
Most of my photos in the cave where set at
ISO 6400
F4
6 Minute exposure
We spent just over 3 hours in the cave. After about an hour and a half in 1 of the caves, we took a boat ride further into the cave. Wow what a ride! In pitch darkness, the guide pulled the boat using ropes further down the cave. Being pulled along a sea of blue was pretty cool. As we got closer to our destination the noise was incredible!! I actually though that there were air vents in the cave that is how load the noise was. In actual fact it was a little waterfall. And no we did not go river rafting!! That infact was were we stopped for our next shoot.
This area was really like a beach with a dead end cave. We spent another hour in this part of the cave. Its amazing how fast an hour goes buy when you are busy taking photos, never mind 3 hours.
I think my biggest enemy in this session was noise. Because I did not stack my photos, the probability of having lots of noise was a reality.
When I finally loaded my photos onto my computer to look at them and started editing I realised my biggest fears. I had noise. I honestly was a little upset.
I use Lightroom Classic to edit my photos. I’ve never used the AI denoise feature before, but this time I gave it a try to see what it would do with my photos. I couldnt believe it but this feature actually helped me save parts of my photos that had lots of noise in them. It brought out detail that was lost. I am pretty happy with the results.
Wht did I take away from this workshop?
Well working in total darkness for 3 hours is definatley not an easy feat. You have to know how your camera works as well as where are all your buttons are.
I did enjoy the Workshop as well as the exprience of finally photograpy Glow Worms.
Leave me a comment if you have found this article interesting.
You can also follow me on my socials


